

Introduction
Nothing kills a good photo faster than watching it turn soft and pixelated the moment it lands on a Story. It’s one of the most common complaints on the platform, and honestly, it catches a lot of people off guard. One minute the picture looks sharp in the camera roll, and the next it looks like it was taken through a foggy window. If instagram stories blurry issues have been driving up your frustration lately, there’s good news: this is almost always fixable, and it usually comes down to a handful of predictable causes.
This guide walks through exactly why it happens and gives clear, tested steps to get your Stories looking crisp again, whether the problem is on an iPhone, an Android phone, or the app itself.
Featured Snippet Answer
Instagram Stories usually turn blurry because of low internet speed during upload, heavy in-app compression, outdated app versions, or images that are smaller than Instagram’s recommended 1080 x 1920 resolution. Fixing the connection, updating the app, and uploading properly sized images usually solves the problem within minutes.
Why Are Instagram Stories Blurry? (The Real Reasons)
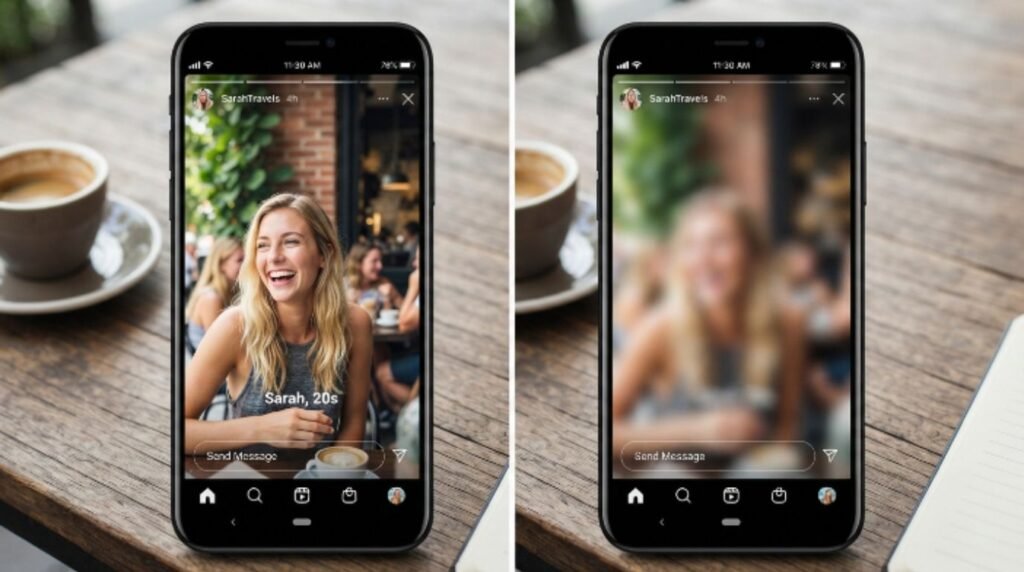
Before jumping into fixes, it helps to understand what’s actually happening behind the scenes. Instagram compresses nearly everything that gets uploaded to save storage space and bandwidth. That compression is normally invisible, but under certain conditions it becomes very obvious.
Here are the main culprits:
Low or unstable internet connection. When Instagram detects a weak connection, it automatically drops the quality of the Story to upload it faster. This is one of the single biggest reasons people notice a sudden drop in sharpness.
Outdated app version. Instagram regularly patches bugs related to media processing. An older version of the app may still contain a compression bug that a newer update has already resolved.
Wrong image dimensions. Instagram Stories are built for a 9:16 vertical frame at 1080 x 1920 pixels. Uploading an image that’s much smaller than that forces the app to stretch it, which introduces blur.
Heavy editing before upload. Photos edited in third-party apps and then re-saved multiple times lose quality with each save, a problem often called generation loss.
Device storage running low. When a phone’s storage is nearly full, the operating system sometimes struggles to process and cache media properly, leading to lower quality previews and uploads.
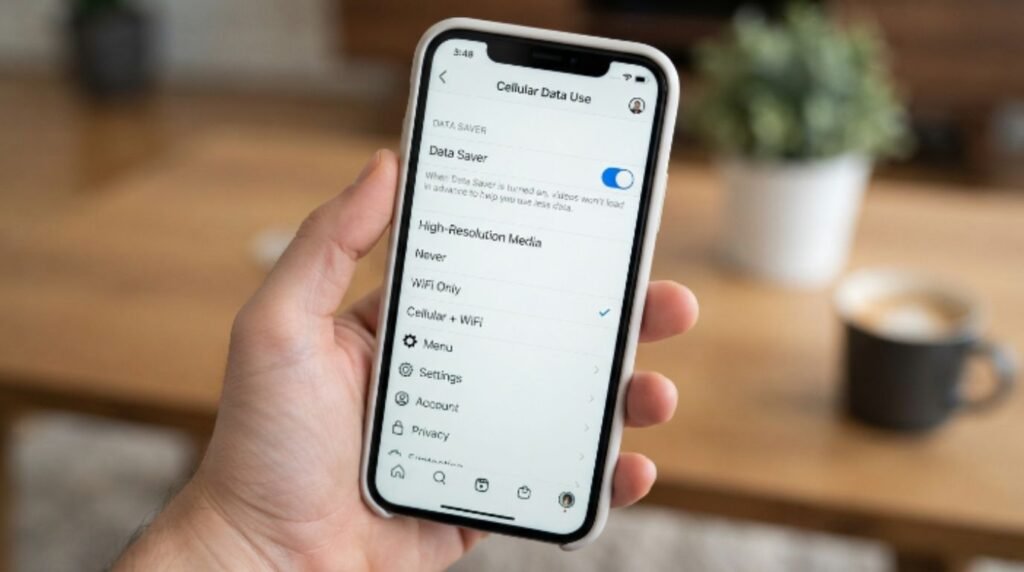
Data Saver mode. Instagram has a built-in Data Saver setting that intentionally reduces media quality to save mobile data, which is a frequent, often-overlooked cause.
[Internal Link: Instagram Not Loading Photos]
According to official documentation from Meta, Instagram automatically adjusts media quality based on network conditions and device settings, which explains why the same photo can look different depending on where and how it’s posted.
Quick Comparison: Common Causes vs Fixes
| Cause | Symptom | Best Fix |
|---|---|---|
| Weak Wi-Fi or mobile data | Story looks pixelated only sometimes | Switch to a stronger network or wait for better signal |
| Outdated app | Blur happens consistently across all uploads | Update Instagram from the App Store or Play Store |
| Wrong image size | Photo looks stretched or soft at the edges | Resize to 1080 x 1920 before uploading |
| Data Saver enabled | Every Story looks slightly duller and softer | Turn off Data Saver in settings |
| Over-edited/re-saved image | Blur increases with each repost | Upload the original, unedited file |
| Low phone storage | Random quality drops across the app | Free up storage space |
Step-by-Step Guide to Fix Blurry Instagram Stories
Check your internet connection first. Switch from mobile data to Wi-Fi, or vice versa, and try uploading again on a stronger signal.
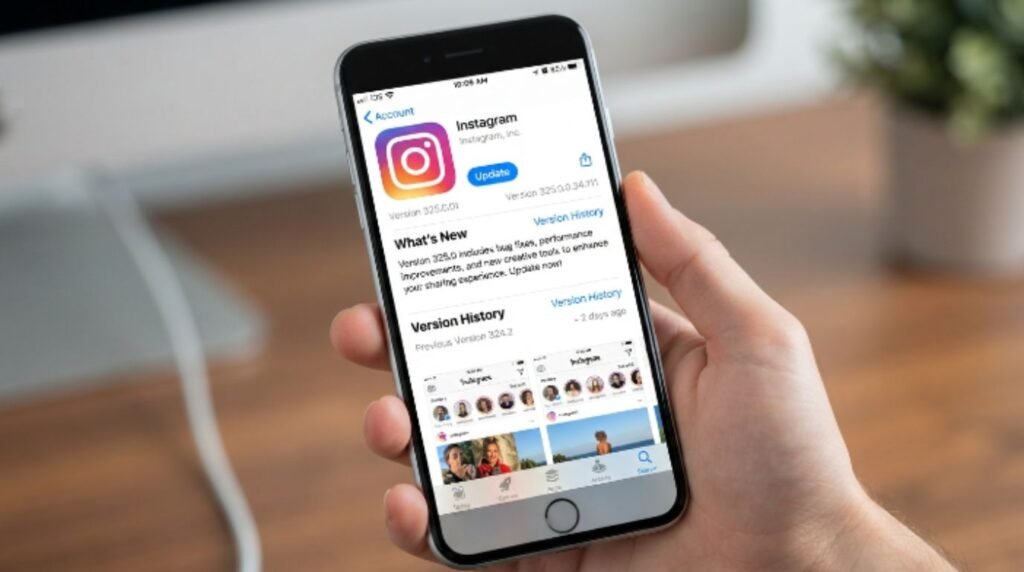
Update the Instagram app. Open the App Store or Google Play Store, search for Instagram, and install any pending update.
Turn off Data Saver. Go to Settings and Privacy, then Data Usage, and disable Data Saver mode.
Resize the image before uploading. Use a free tool or the phone’s built-in editor to set the photo to 1080 x 1920 pixels.
Avoid re-saving edited photos multiple times. Edit once, export once, and upload that single final version.
Clear the Instagram app cache. On Android, this can be done through phone Settings, then Apps, then Instagram, then Storage. On iPhone, offloading and reinstalling the app achieves a similar result.
Restart the phone. This clears temporary memory issues that can interfere with media processing.
Try uploading through a browser as a test. If the Story looks sharp on desktop but not mobile, the issue is likely tied to the phone’s app cache or network.
Reinstall the app if none of the above steps help, since a fresh install often resolves lingering bugs.
[Internal Link: Instagram App Keeps Crashing]
Fixing Blurry Stories on iPhone vs Android
The core reasons are the same across devices, but the settings menus differ slightly.
On iPhone: Go to the Settings app, scroll to Instagram, and check that Instagram has permission to access Photos as “All Photos” rather than “Selected Photos,” since limited access can sometimes force the app to use a lower-quality cached thumbnail instead of the full-resolution image.
On Android: Go to Settings, then Apps, then Instagram, then Storage, and clear the cache (not the data, which would log the user out). This forces the app to rebuild its media cache from scratch.
Apple explains in its official support documentation that photo access permissions directly affect which version of an image an app can retrieve, which is worth checking if Stories look blurry only on one specific phone.
[Internal Link: How to Fix Instagram Not Working]
Best Settings to Upload Sharp Instagram Stories
- Shoot in good lighting whenever possible, since low-light photos already contain more visual noise before compression even happens.
- Use the phone’s native camera app rather than a third-party camera app, since native apps are typically better optimized for the phone’s image processor.
- Keep photos in their original aspect ratio close to 9:16 to avoid unnecessary cropping or stretching.
- Avoid applying multiple filters from different apps stacked on top of each other.
- Upload directly after taking the photo rather than after it has been shared, downloaded, and re-uploaded across multiple apps, since each round trip adds compression.
[Internal Link: Best Instagram Camera Settings]
Pros and Cons of Each Fix
| Fix | Pros | Cons |
|---|---|---|
| Switching networks | Fast, free, works instantly | Not always possible depending on location |
| Updating the app | Fixes known bugs, improves overall stability | Requires storage space and a few minutes |
| Turning off Data Saver | Immediate quality improvement | Uses more mobile data |
| Resizing images | Full control over final quality | Takes a bit of extra manual effort |
| Clearing cache | Solves many hidden glitches | Slightly slows down the app the first time it reloads |
| Reinstalling the app | Most thorough fix | Takes longest and requires logging back in |
Common Mistakes to Avoid
- Uploading a screenshot of a photo instead of the original file, which adds an extra layer of compression.
- Ignoring pending app updates for weeks at a time.
- Editing the same photo repeatedly in different apps before posting.
- Assuming the issue is the phone’s camera when it’s actually the network or app settings.
- Posting Stories while running very low on mobile data, which can silently trigger compression.
- Forgetting to check photo permission settings after an iOS update.
[Internal Link: Instagram Story Not Posting]
Expert Tips
Most users report that a combination of updating the app and disabling Data Saver solves the issue on the first try, without needing anything more technical. Google recommends keeping apps updated in general as one of the simplest ways to avoid unnecessary bugs across any platform, and that advice applies well here too.
It also helps to test uploads on both Wi-Fi and mobile data separately, since this quickly narrows down whether the issue is network-related or app-related. Keeping at least 10 to 15 percent of phone storage free is another small habit that prevents a surprising number of media-quality issues across many apps, not just Instagram.
[Internal Link: Instagram Down Right Now] [Internal Link: Instagram Login Issues]
FAQs
Why do my Instagram Stories look blurry only on other people’s phones? This usually happens because of compression differences tied to their network speed or app version, not because of anything wrong with the original photo.
Does Instagram compress every Story automatically? Yes, Instagram compresses most uploaded media to save bandwidth, though the amount of compression varies based on connection speed and settings.
Will turning off Data Saver fix instagram stories blurry problems permanently? It often significantly improves quality, but pairing it with a strong network connection gives the most consistent results.
Does image size really make that much of a difference? Yes, uploading photos smaller than 1080 x 1920 pixels forces Instagram to stretch them, which is a very common cause of blur.
Can old phone storage really affect Story quality? Yes, very low storage can interfere with how the operating system processes and caches media, indirectly affecting quality.
Is this problem more common on iPhone or Android? It can happen on both, though the underlying settings that need adjusting differ slightly between the two operating systems.
Should photos be edited before or after checking Instagram’s upload quality? Edit once, save once, and upload that same final version rather than repeatedly re-saving between multiple apps.
Conclusion
Blurry Stories are annoying, but they’re rarely a mystery once the usual suspects are ruled out one by one. Between weak connections, outdated apps, Data Saver settings, and mismatched image sizes, most instagram stories blurry problems get solved within the first few steps of troubleshooting. Try the fixes above in order, starting with the network and app update, and the difference is often noticeable right away. For anyone who still runs into trouble after trying all these steps, reaching out through Meta’s official Help Center is a solid next move for more specific, account-level support.